Deployment
Follow this guide to deploy and run the service.
Deploy EdgeX and ONVIF Device Camera Microservice
-
Navigate to the EdgeX
compose-builderdirectory:cd edgex-compose/compose-builder/ -
Checkout the latest release (v3.0):
git checkout v3.0 -
Run Edgex with the ONVIF microservice in secure or non-secure mode.
Non-secure mode
make run no-secty ds-onvif-cameraSecure mode
Note
Recommended for secure and production level deployments.
make run ds-onvif-cameraToken Generation
Note
Need to wait for sometime for the services to be fully up before executing the next set of commands. Securely store Consul ACL token and the JWT token generated which are needed to map credentials and execute apis. It is not recommended to store these secrets in cleartext in your machine.
Note
The JWT token expires after 119 minutes, and you will need to generate a new one.
Generate the Consul ACL Token. Use the token generated anywhere you see
<consul-token>in the documentation.Example output:make get-consul-acl-token12345678-abcd-1234-abcd-123456789abcGenerate the JWT Token. Use the token generated anywhere you see
<jwt-token>in the documentation.Example output:make get-tokeneyJhbGciOiJFUzM4NCIsImtpZCI6IjUyNzM1NWU4LTQ0OWYtNDhhZC05ZGIwLTM4NTJjOTYxMjA4ZiJ9.eyJhdWQiOiJlZGdleCIsImV4cCI6MTY4NDk2MDI0MSwiaWF0IjoxNjg0OTU2NjQxLCJpc3MiOiIvdjEvaWRlbnRpdHkvb2lkYyIsIm5hbWUiOiJlZGdleHVzZXIiLCJuYW1lc3BhY2UiOiJyb290Iiwic3ViIjoiMGRjNThlNDMtNzBlNS1kMzRjLWIxM2QtZTkxNDM2ODQ5NWU0In0.oa8Fac9aXPptVmHVZ2vjymG4pIvF9R9PIzHrT3dAU11fepRi_rm7tSeq_VvBUOFDT_JHwxDngK1VqBVLRoYWtGSA2ewFtFjEJRj-l83Vz33KySy0rHteJIgVFVi1V7q5Note
Secrets such as passwords, certificates, tokens and more in Edgex are stored in a secret store which is implemented using Vault a product of Hashicorp. Vault supports security features allowing for the issuing of consul tokens. JWT token is required for the API Gateway which is a trust boundry for Edgex services. It allows for external clients to be verified when issuing REST requests to the microservices. For more info refer Secure Consul, API Gateway and Edgex Security.
Note
Go version 1.20+ is required to run natively. See here for more information.
-
Navigate to the EdgeX
compose-builderdirectory:cd edgex-compose/compose-builder/ -
Checkout the latest release (v3.0):
git checkout v3.0 -
Run EdgeX:
make run no-secty -
Navigate out of the
edgex-composedirectory to thedevice-onvif-cameradirectory:cd device-onvif-camera -
Checkout the latest release (v3.0):
git checkout v3.0 -
Run the service
make run[Optional] Run with NATS
make run-nats
Verify Service and Device Profiles
-
Check the status of the container:
docker psThe status column will indicate if the container is running, and how long it has been up.
Example Output:
CONTAINER ID IMAGE COMMAND CREATED STATUS PORTS NAMES 33f9c5ecb70e nexus3.edgexfoundry.org:10004/device-onvif-camera:latest "/device-onvif-camer…" 7 weeks ago Up 48 minutes 127.0.0.1:59985->59985/tcp edgex-device-onvif-camera -
Check whether the device service is added to EdgeX:
Note
If running in secure mode all the api executions need the JWT token generated previously. E.g.
curl --location --request GET 'http://localhost:59881/api/v3/deviceservice/name/device-onvif-camera' \ --header 'Authorization: Bearer <jwt-token>' \ --data-raw ''Good response:curl -s http://localhost:59881/api/v3/deviceservice/name/device-onvif-camera | jq .Bad response:{ "apiVersion" : "v3", "statusCode": 200, "service": { "created": 1657227634593, "modified": 1657291447649, "id": "e1883aa7-f440-447f-ad4d-effa2aeb0ade", "name": "device-onvif-camera", "baseAddress": "http://edgex-device-onvif-camera:59984", "adminState": "UNLOCKED" } }{ "apiVersion" : "v3", "message": "fail to query device service by name device-onvif-camer", "statusCode": 404 } -
Check whether the device profile is added:
Good response:curl -s http://localhost:59881/api/v3/deviceprofile/name/onvif-camera | jq -r '"profileName: " + '.profile.name' + "\nstatusCode: " + (.statusCode|tostring)'Bad response:profileName: onvif-camera statusCode: 200profileName: statusCode: 404
Note
jq -r is used to reduce the size of the displayed response. The entire device profile with all resources can be seen by removing -r '"profileName: " + '.profile.name' + "\nstatusCode: " + (.statusCode|tostring)', and replacing it with '.'
Note
Secure mode login to Edgex UI requires the JWT token generated in the above step
Entering the JWT token
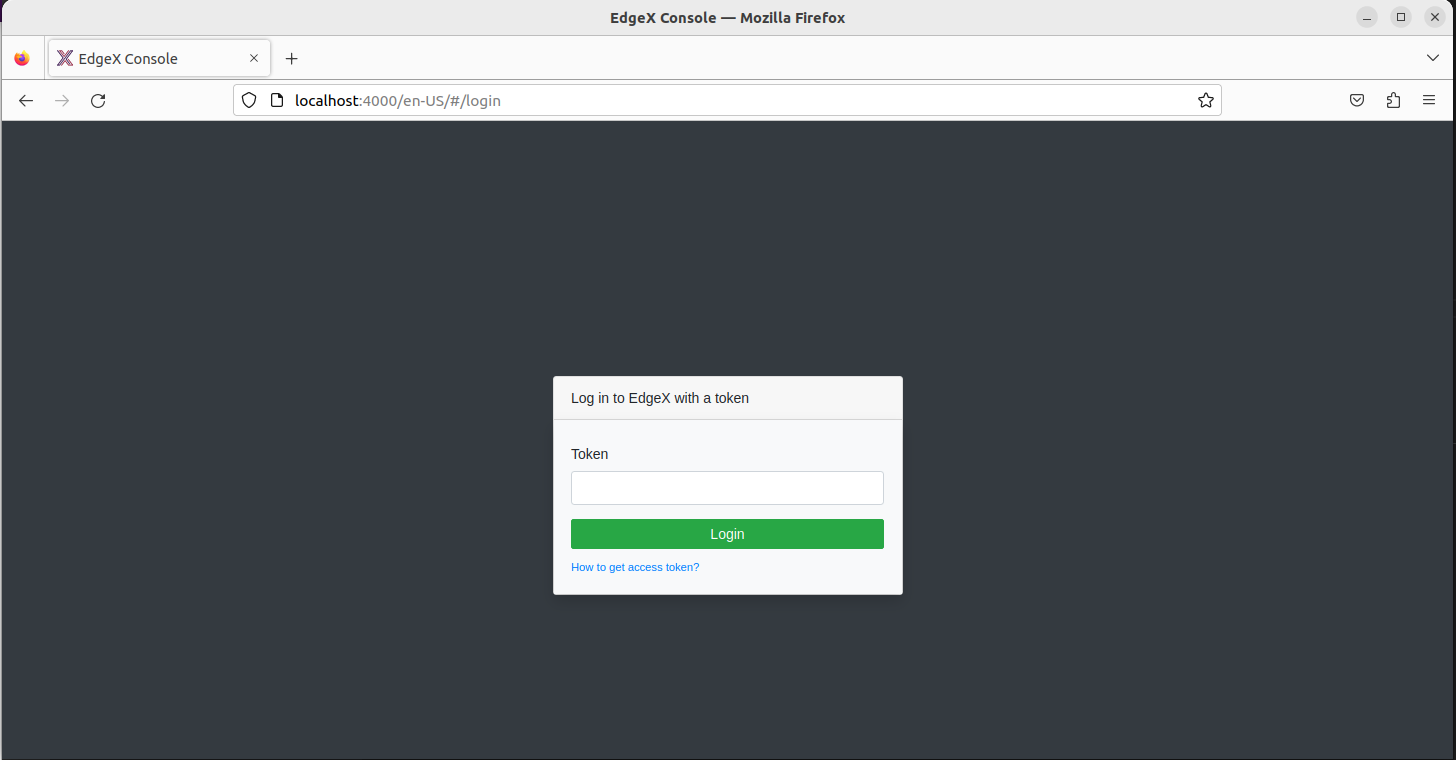
-
Visit http://localhost:4000 to go to the dashboard for EdgeX Console GUI:
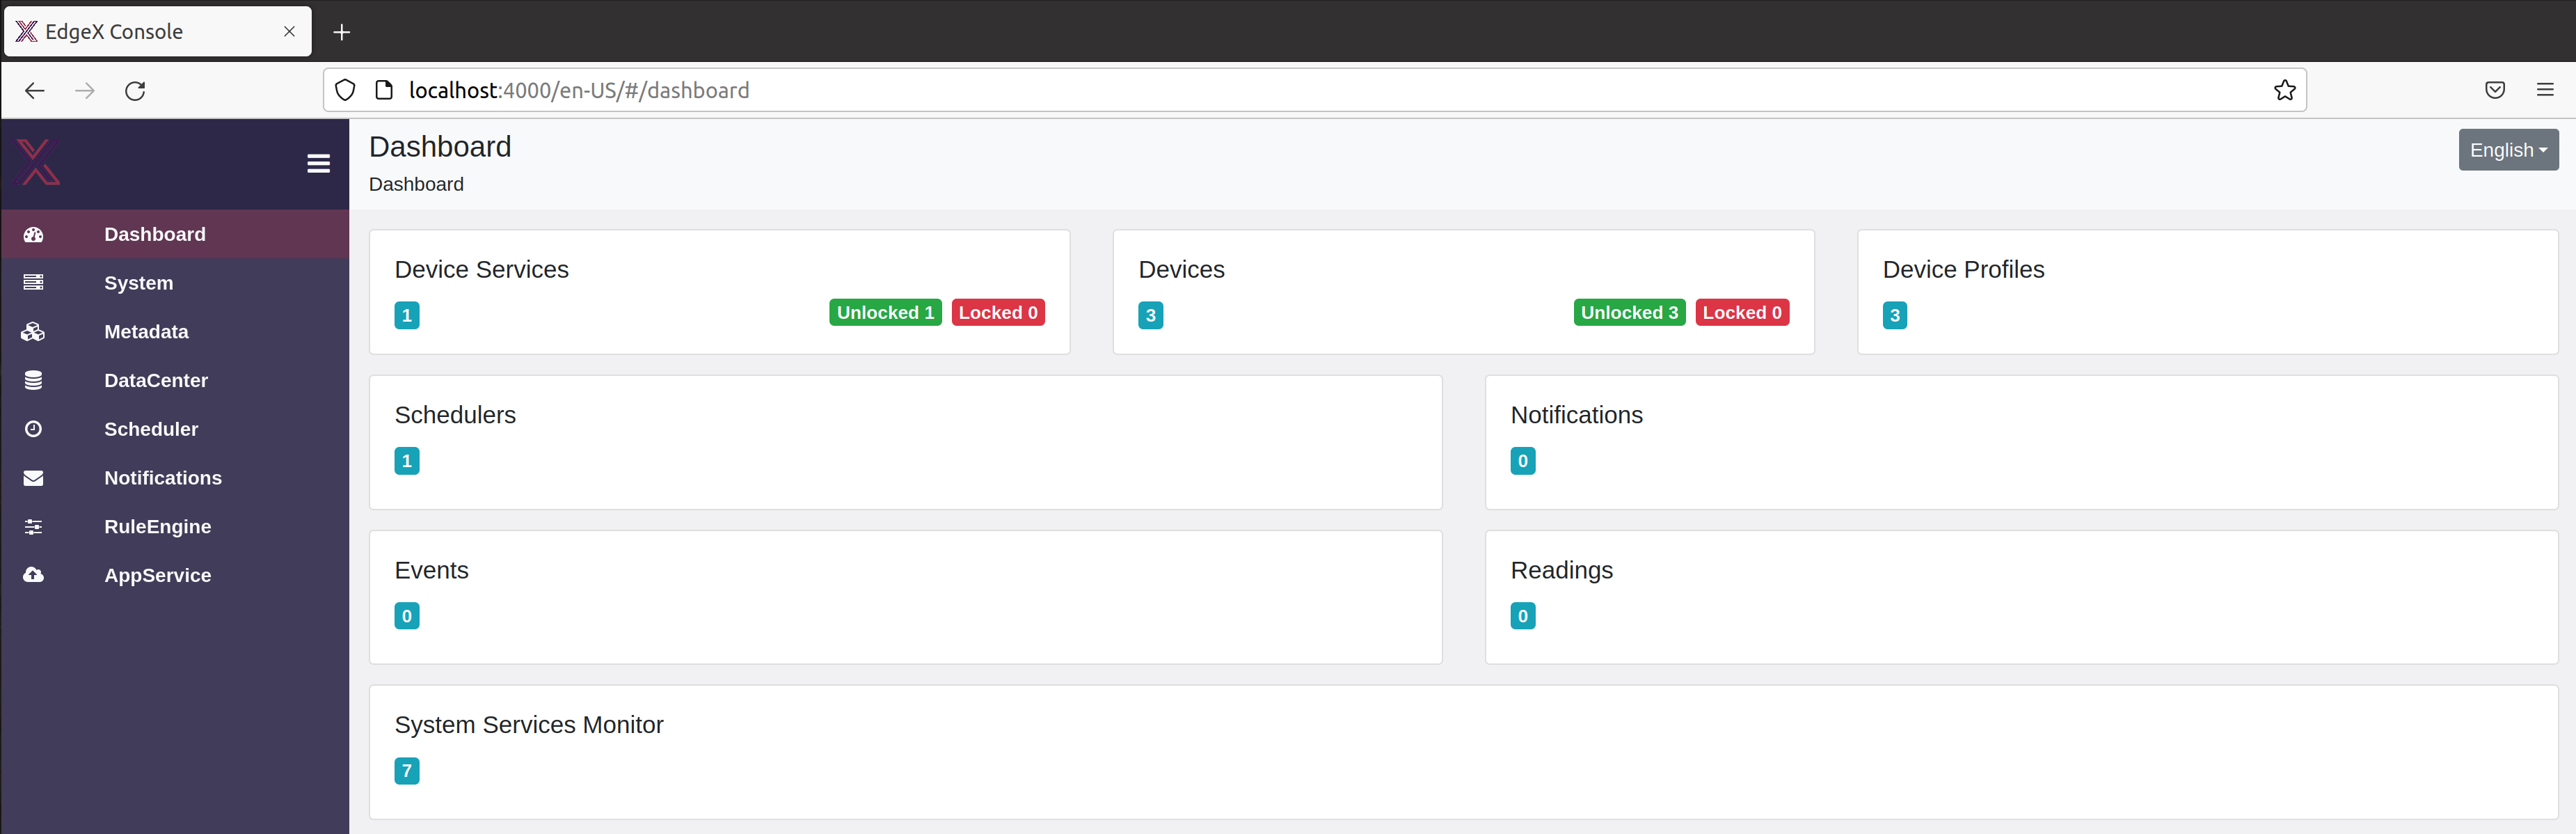
Figure 1: EdgeX Console Dashboard
-
To see Device Services, Devices, or Device Profiles, click on their respective tab:
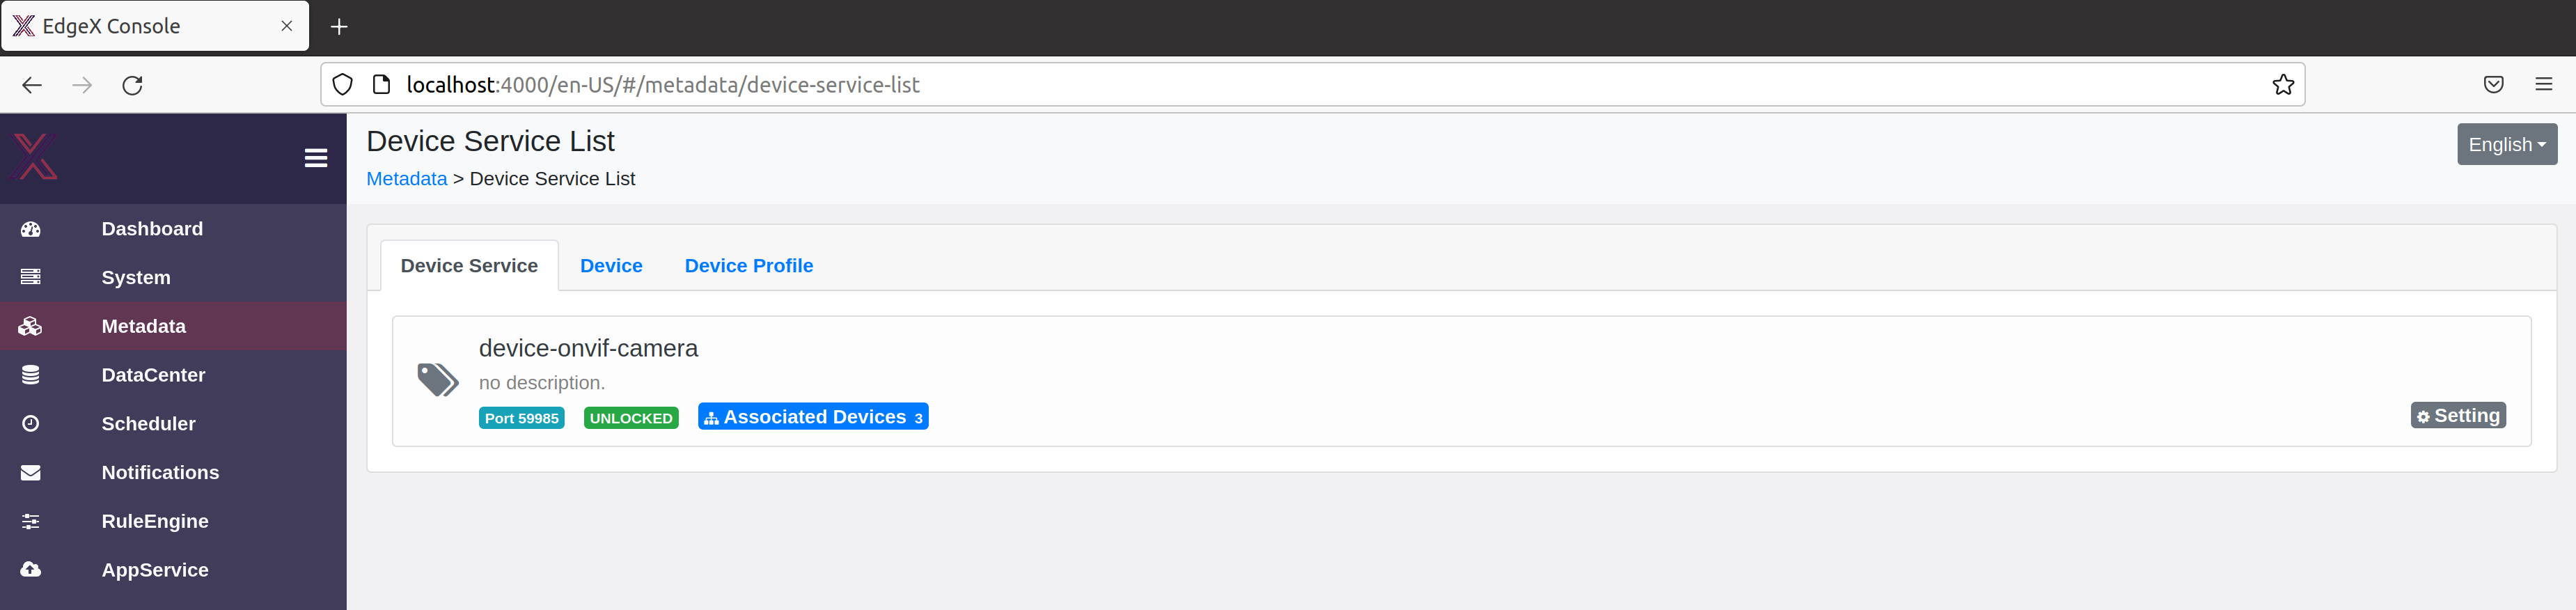
Figure 2: EdgeX Console Device Service List
Figure 3: EdgeX Console Device List
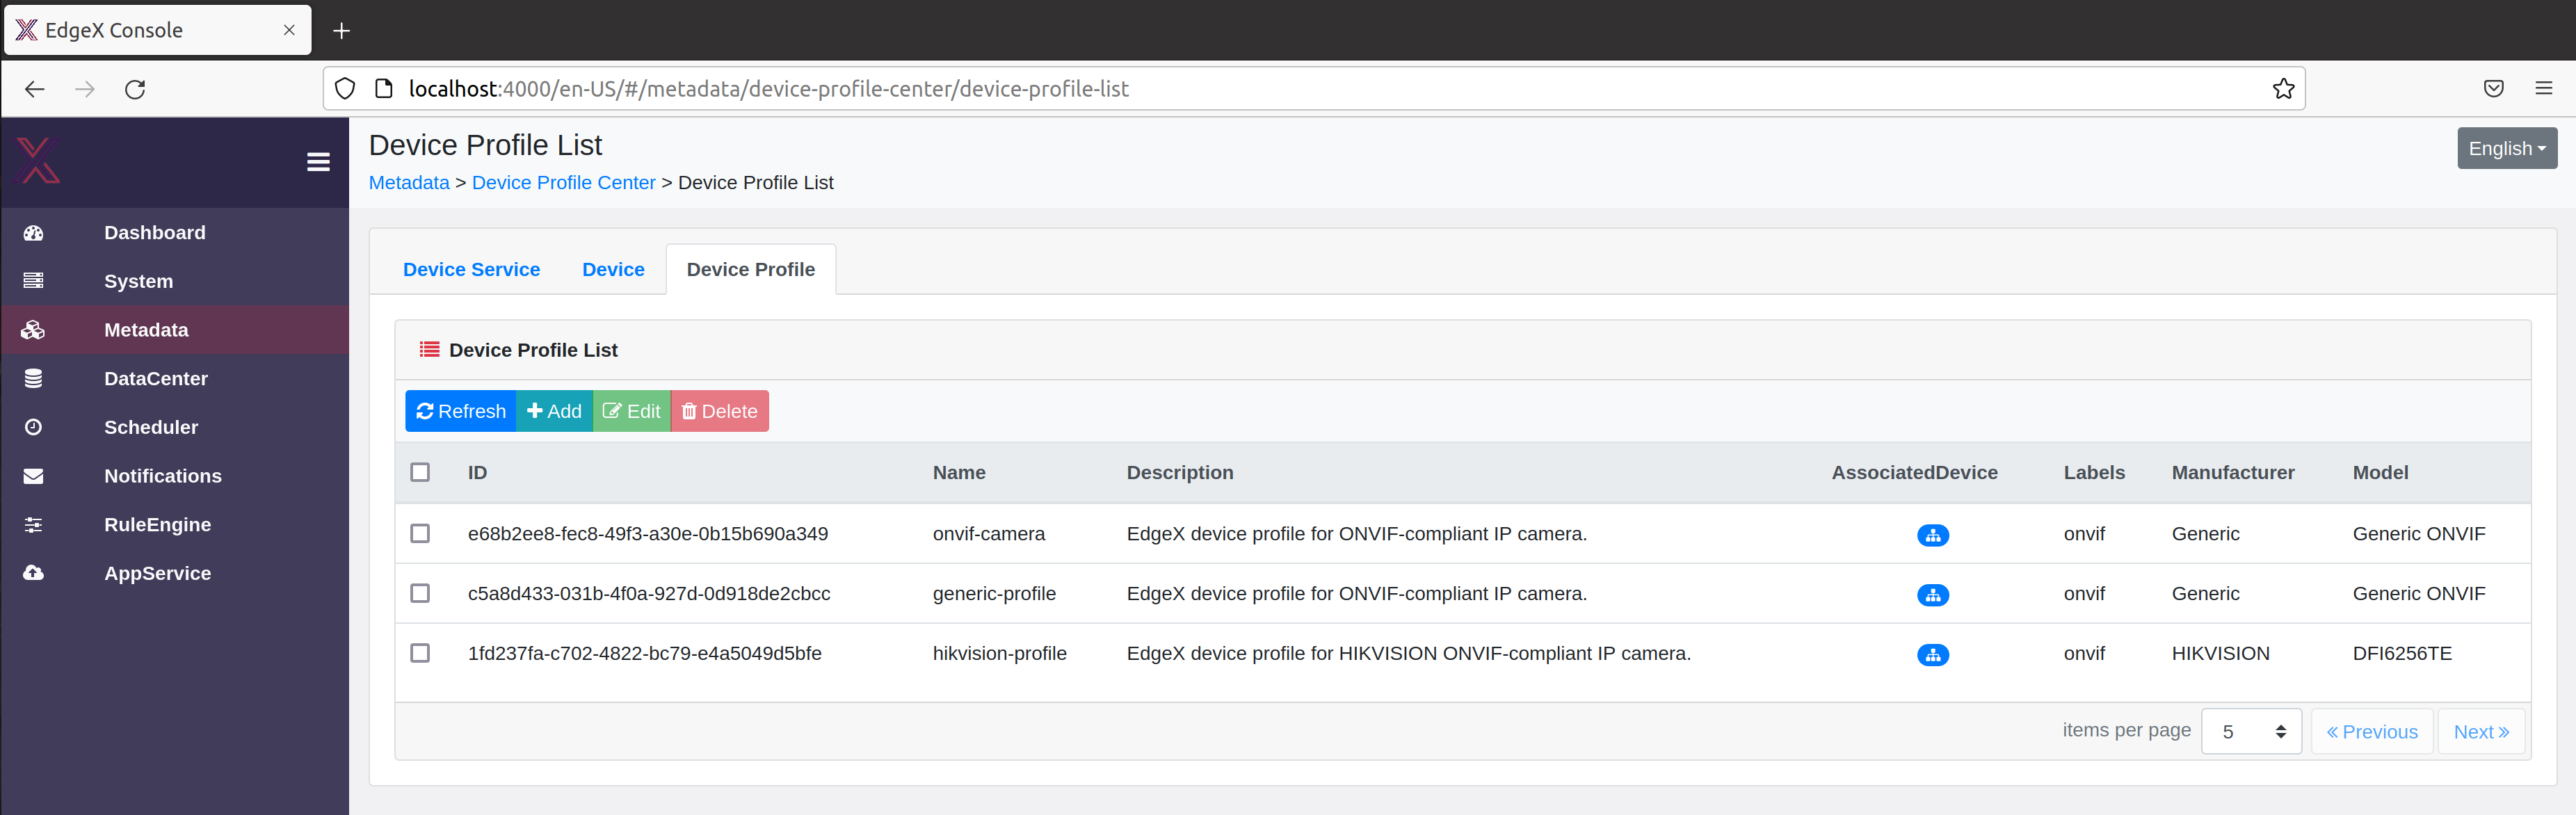
Figure 4: EdgeX Console Device Profile List
Additionally, ensure that the service config has been deployed and that Consul is reachable.
Note
If running in secure mode this command needs the Consul ACL token generated previously.
curl -H "X-Consul-Token:<consul-token>" -X GET "http://localhost:8500/v1/kv/edgex/v3/device-onvif-camera?keys=true"
Manage Devices
Follow these instructions to update devices.
Curl Commands
Add Device
Warning
Be careful when storing any potentially important information in cleartext on files in your computer. This includes information such as your camera IP and MAC addresses.
-
Edit the information to appropriately match the camera. The fields
Address,MACAddressandPortshould match that of the camera:Note
If running in secure mode the commands might need the JWT or consul token generated previously.
curl -X POST -H 'Content-Type: application/json'  \
http://localhost:59881/api/v3/device \
-d '[
         {
            "apiVersion" : "v3",
            "device": {
               "name":"Camera001",
               "serviceName": "device-onvif-camera",
               "profileName": "onvif-camera",
               "description": "My test camera",
               "adminState": "UNLOCKED",
               "operatingState": "UP",
               "protocols": {
                  "Onvif": {
                     "Address": "10.0.0.0",
                     "Port": "10000",
                     "MACAddress": "aa:bb:cc:11:22:33",
                     "FriendlyName":"Default Camera"
                  },
                  "CustomMetadata": {
                     "Location":"Front door"
                  }
               }
            }
         }
]'
Example Output:
[{"apiVersion" : "v3","statusCode":201,"id":"fb5fb7f2-768b-4298-a916-d4779523c6b5"}] -
Update credentials in Secret Store.
Note
If running in secure mode all the api executions need the JWT token generated previously.
Enter your chosen username, password, and authentication mode and credentials name and then execute the command to create the secrets.
Note
The options for authentication mode are:
usernametoken,digest, orbothcurl --data '{ "apiVersion" : "v3", "secretName": "<creds-name>", "secretData":[ { "key":"username", "value":"<username>" }, { "key":"password", "value":"<password>" }, { "key":"mode", "value":"<auth-mode>" } ] }' --header 'Authorization:Bearer <jwt-token>' -X POST "http://localhost:59984/api/v3/secret"Enter your chosen username, password, and authentication mode and credentials name and then execute the command to create the secrets.
Note
The options for authentication mode are:
usernametoken,digest, orbothcurl --data '{ "apiVersion" : "v3", "secretName": "<creds-name>", "secretData":[ { "key":"username", "value":"<username>" }, { "key":"password", "value":"<password>" }, { "key":"mode", "value":"<auth-mode>" } ] }' -X POST "http://localhost:59984/api/v3/secret" -
Map credentials to devices.
a. Enter your mac-address(es) and then execute the command to add the mac address(es) to the mapping.
Note
If you want to map multiple mac addresses, enter a comma separated list in the command
curl --data '<mac-address>' -H "X-Consul-Token:<consul-token>" -X PUT "http://localhost:8500/v1/kv/edgex/v3/device-onvif-camera/AppCustom/CredentialsMap/<creds-name>"b. Check the status of the credentials map.
Example response:curl -H "X-Consul-Token:<consul-token>" -X GET "http://localhost:8500/v1/kv/edgex/v3/device-onvif-camera/AppCustom/CredentialsMap?keys=true" | jq .[ "edgex/v3/device-onvif-camera/AppCustom/CredentialsMap/NoAuth", "edgex/v3/device-onvif-camera/AppCustom/CredentialsMap/credentials001", "edgex/v3/device-onvif-camera/AppCustom/CredentialsMap/credentials002" ]c. Check the mac addresses mapped to a specific credenential name. Insert the credential name in the command to see the mac addresses associated with it.
Example response:curl -H "X-Consul-Token:<consul-token>" -X GET "http://localhost:8500/v1/kv/edgex/v3/device-onvif-camera/AppCustom/CredentialsMap/<creds-name>?raw=true"11:22:33:44:55:66a. Enter your mac-address(es) and then execute the command to add the mac address(es) to the mapping.
Note
If you want to map multiple mac addresses, enter a comma separated list in the command
curl --data '<mac-address>' -X PUT "http://localhost:8500/v1/kv/edgex/v3/device-onvif-camera/AppCustom/CredentialsMap/<creds-name>"b. Check the status of the credentials map.
Example response:curl -X GET "http://localhost:8500/v1/kv/edgex/v3/device-onvif-camera/AppCustom/CredentialsMap?keys=true" | jq .[ "edgex/v3/device-onvif-camera/AppCustom/CredentialsMap/NoAuth", "edgex/v3/device-onvif-camera/AppCustom/CredentialsMap/credentials001", "edgex/v3/device-onvif-camera/AppCustom/CredentialsMap/credentials002" ]c. Check the mac addresses mapped to a specific credenential name. Insert the credential name in the command to see the mac addresses associated with it.
Example response:curl -X GET "http://localhost:8500/v1/kv/edgex/v3/device-onvif-camera/AppCustom/CredentialsMap/<creds-name>?raw=true"11:22:33:44:55:66
Note
The helper scripts may also be used, but they have been deprecated.
-
Verify device(s) have been successfully added to core-metadata.
curl -s http://localhost:59881/api/v3/device/all | jq -r '"deviceName: " + '.devices[].name''Example Output:
bash
  deviceName: Camera001
  deviceName: device-onvif-camera
Note
jq -ris used to reduce the size of the displayed response. The entire device with all information can be seen by removing-r '"deviceName: " + '.devices[].name'', and replacing it with '.'
Update Device
There are multiple commands that can update aspects of the camera entry in meta-data. Refer to the Swagger documentation for Core Metadata for more information. For editing specific fields, see the General Usage tab.
Delete Device
curl -X 'DELETE' \
'http://localhost:59881/api/v3/device/name/<device name>' \
-H 'accept: application/json'
Shutting Down
To stop all EdgeX services (containers), execute the make down command. This will stop all services but not the images and volumes, which still exist.
- Navigate to the
edgex-compose/compose-builderdirectory. - Run this command
make down - To shut down and delete all volumes, run this command
make clean
Next Steps
Learn how to use the device service>