Working in a Hybrid Environment
In some cases, as a developer or contributor, you want to work on a particular micro service. Yet, you don't want to have to download all the source code, and then build and run all the micro services. There is an alternative approach! You can download and run the EdgeX Docker containers for all the micro services you need and run your single micro service (the one you are presumably working on) natively or from a developer tool of choice outside of a container. Within EdgeX, we call this a "hybrid" environment - where part of your EdgeX platform is running from a development environment, while other parts are running from Docker containers. This page outlines how to work in a hybrid development environment.
As an example of this process, let's say you want to do coding work with/on the Virtual Device service. You want the rest of the EdgeX environment up and running via Docker containers. How would you set up this hybrid environment? Let's take a look.
Get and Run the EdgeX Docker Containers
- If you haven't already, follow the Getting Started with Docker guide to set up your environment (Docker, Docker Compose, etc.) before continuing.
-
Since we plan to work with the virtual device service in this example, you don't need or want to run the virtual device service. You will run all the other services via Docker Compose.
Based on the instructions found in the Getting Started with Docker, locate and download the appropriate Docker Compose file for your development environment. Next, issue the following commands to start the EdgeX containers and then stop the virtual device service (which is the service you are working on in this example).
docker-compose up -d
docker-compose stop device-virtual
Run the EdgeX containers and then stop the service container that you are going to work on - in this case the virtual device service container.
Note
These notes assume you are working with the EdgeX Ireland release. It also assumes you have downloaded the appropriate Docker Compose file and have named it
docker-compose.ymlso you don't have to specify the file name each time you run a Docker Compose command. Some versions of EdgeX may require other or additional containers to run.Tip
You can also use the EdgeX Compose Builder tool to create a custom Docker Compose file with just the services you want. See the Compose Builder documentation on and checkout the Compose Builder tool in GitHub.
-
Run the command below to confirm that all the containers have started and that the virtual device container is no longer running.
docker-compose ps
Get, Build and Run the (non-Docker) Service
With the EdgeX containers running, you can now download, build and run natively (outside of a container) the service you want to work on. In this example, the virtual device service is used to exemplify the steps necessary to get, build and run the native service with the EdgeX containerized services. However, the practice could be applied to any service.
Get the service code
Per Getting Started Go Developers, pull the micro service code you want to work on from GitHub. In this example, we use the device-virtual-go as the micro service that is going to be worked on.
git clone https://github.com/edgexfoundry/device-virtual-go.git
Build the service code
At this time, you can add or modify the code to make the service changes you need. Once ready, you must compile and build the service into an executable. Change folders to the cloned micro service directory and build the service.
cd device-virtual-go/
make build
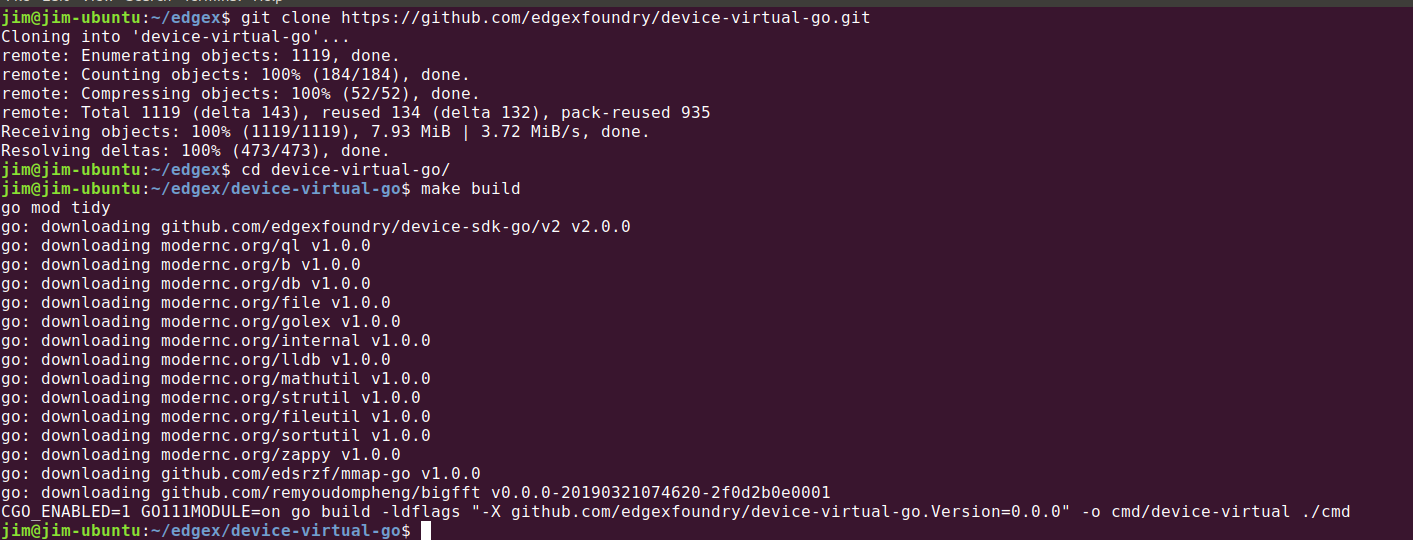 Clone the service from Github, make your code changes and then build the service locally.
Change the configuration
Depending on the service you are working on, you may need to change the configuration of the service to point to and use the other services that are containerized (running in Docker). In particular, if the service you are working on is not on the same host as the Docker Engine running the containerized services, you will likely need to change the configuration.
Examine the configuration.toml file in the cmd/res folder of the device-virtual-go. Note that the Service (located in the [Service] section of the configuration), Registry (located in the [Registry] section) and all the "Clients" (located in the [Clients] section) suggest that the Host of these services is "localhost". These and other host configuration elements need to change when the services are not running on the same host - specifically the localhost. When your service is running on a different host than the rest of EdgeX, change the [Service] Host to be the address of the machine hosting your service. Change the [Registry] and [Clients] Host configuration to specify the location of the machine hosting these services. If you do have to change the configuration, save the configuration.toml file after making changes.
Run the service code natively.
The executable created by the make build command is found in the cmd folder of the service. Change folders to the location of the executable. Set any environment variables needed depending on your EdgeX setup. In this example, we did not start the security elements so we need to set EDGEX_SECURITY_SECRET_STORE to false in order to turn off security. Finally, run the service right from a terminal.
cd cmd
export EDGEX_SECURITY_SECRET_STORE=false
./device-virtual
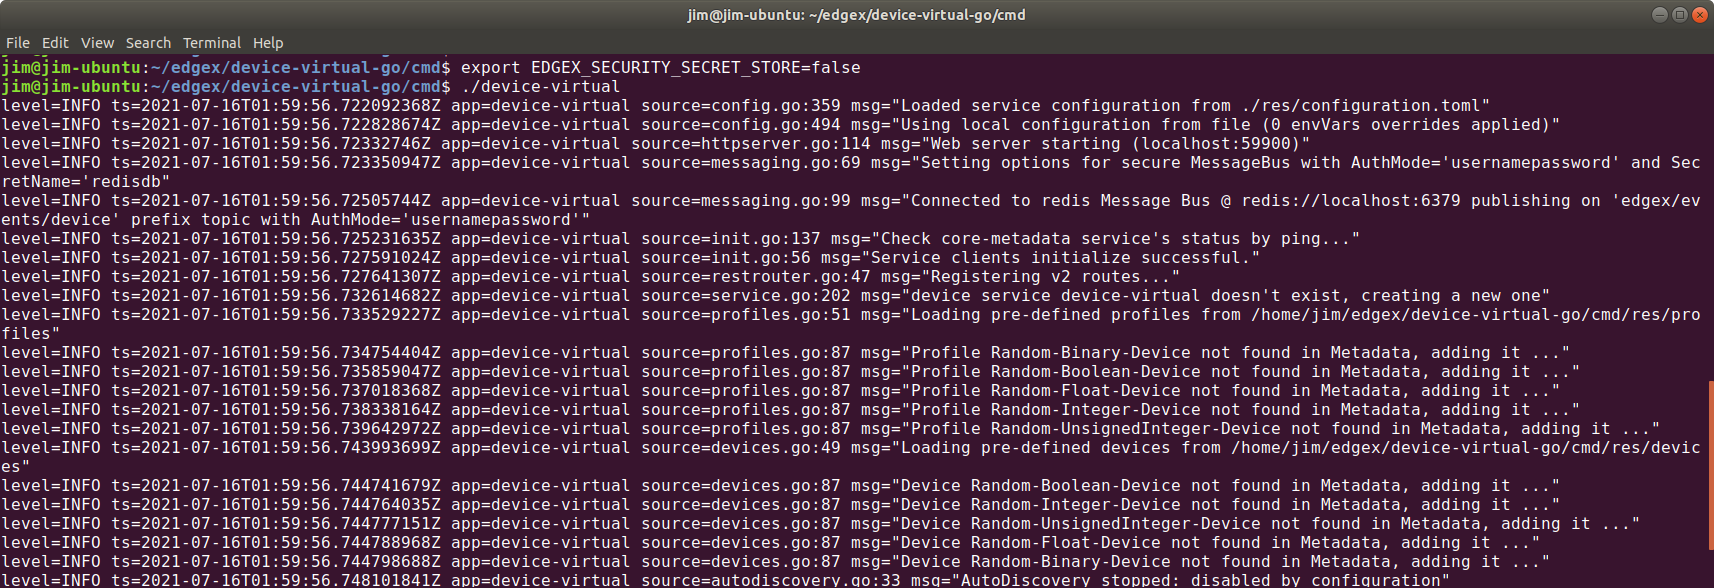 Change folders to the service's cmd/ folder, set env vars, and then execute the service executable in the cmd folder.
Check the results
At this time, your virtual device micro service should be communicating with the other EdgeX micro services running in their Docker containers. Because Core Metadata callbacks do not work in the hybrid environment, the virtual device service will not receive the Add Device callbacks on the inital run after creating them in Core Metadata. The simple work around for this issue is to stop (Ctrl-c from the terminal) and restart the virtual device service (again with ./device-virtual execution).
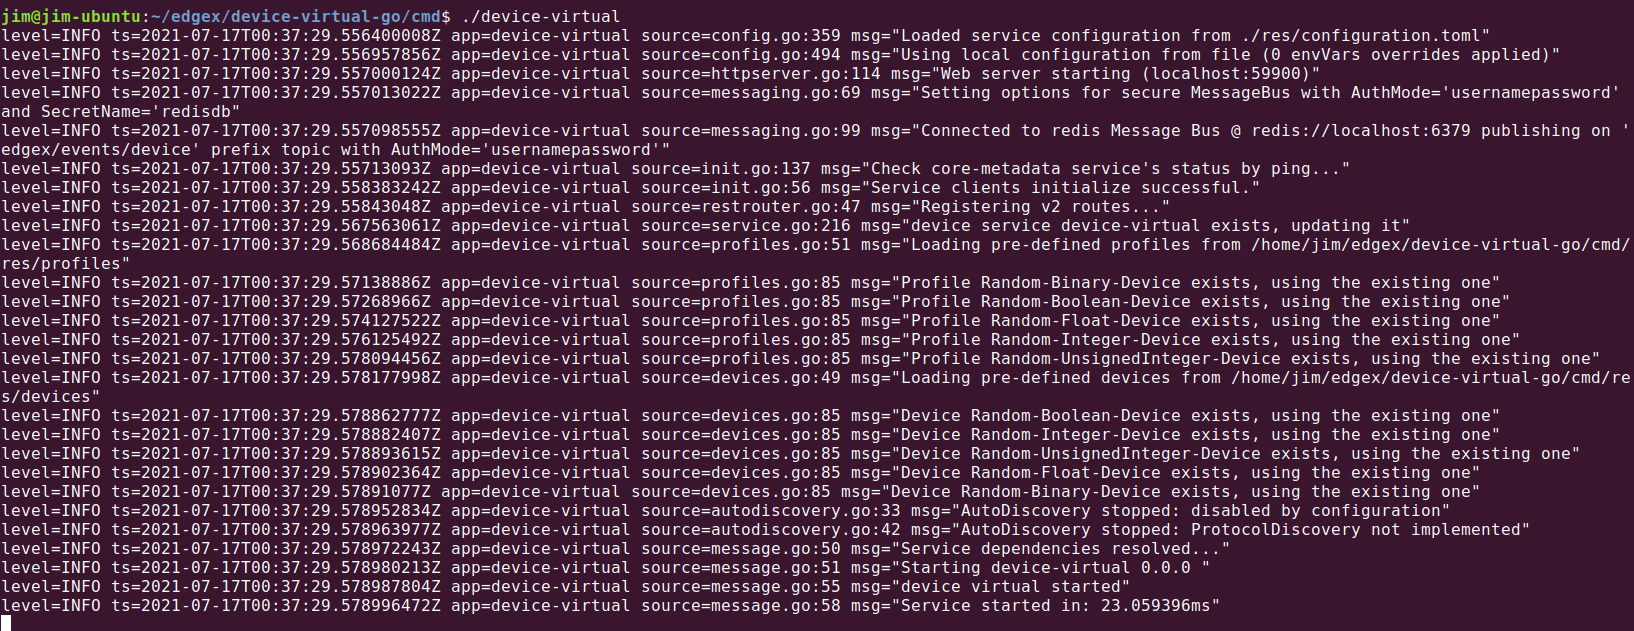 The virtual device service log after stopping and restarting.
Give the virtual device a few seconds or so to initialize itself and start sending data to Core Data. To check that it is working properly, open a browser and point your browser to Core Data to check that events are being deposited. You can do this by calling on the Core Data API that checks the count of events in Core Data.
http://localhost:59880/api/v2/event/count
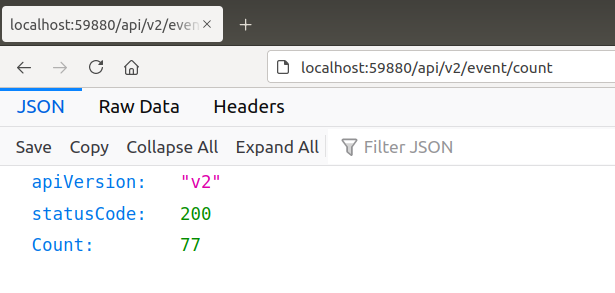
For this example, you can check that the virtual device service is sending data into Core Data by checking the event count.
Note
If you choose, you can also import the service into GoLand and then code and run the service from GoLand. Follow the instructions in the Getting Started - Go Developers to learn how to import, build and run a service in GoLand.